
Email notifications
Email notifications can send a response summary, generated PDF, or uploaded files when a form is submitted. They are configured separately for each form.
Enable an email notification
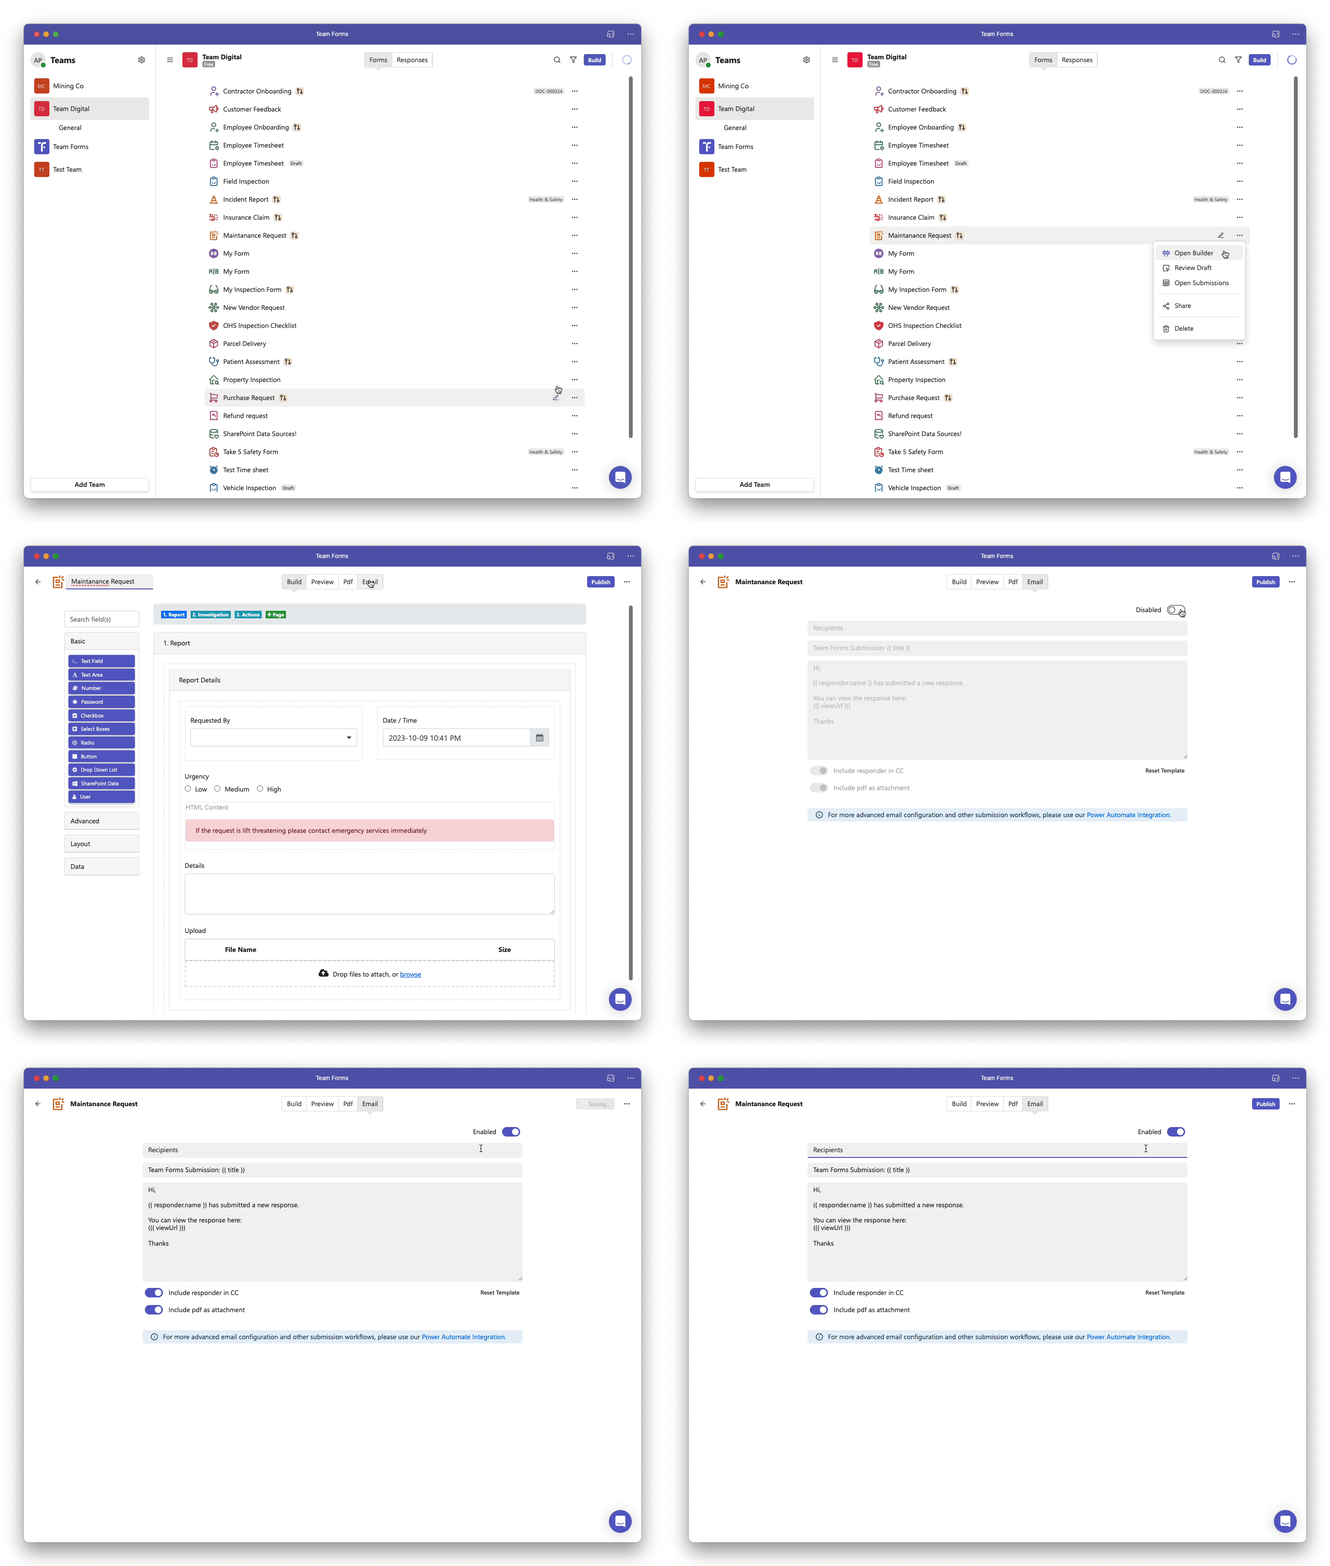
Section titled “Enable an email notification”- Open the form builder and select the Email tab.
- Enable email notifications.
- Add the recipients. Separate fixed email addresses with commas.
- Edit the subject and message, then choose whether to attach the generated PDF or uploaded files.
- Preview and test the form before publishing.
Recipients do not have to be fixed. You can use an email address collected by the form or calculate recipients from response data. See Dynamically setting email recipients and Conditionally send an email notification.
Choose when notifications send
Section titled “Choose when notifications send”In the Email tab, expand Advanced settings, set Send email on resubmission, and select Apply.
| Setting | Automatic emails |
|---|---|
| On (default) | Send when a response is first submitted and when the same response is resubmitted. |
| Off | Send only on the initial submission. Editing and resubmitting the same response does not send another automatic email. |
Turn this setting off when recipients need to know about new responses but do not need another email for every edit. Each separate new response still qualifies for an initial notification. Existing forms keep sending on resubmission unless you turn the setting off.
This applies to signed-in responses, offline edits when they sync as resubmissions, and repeat submissions in the same public share session. Email notifications must still be enabled and meet the usual recipient and approval requirements.
For forms with approvals, the submission email also waits for the response to be fully approved. See Using submission emails with approvals below.
Preview emails and manually re-triggered email notifications remain available in either mode. Approval emails and Power Automate triggers have their own settings.
If a resubmission email is intentionally skipped, the response’s email history shows Resubmission emails disabled. This does not indicate a delivery or authentication failure.
Using submission emails with approvals
Section titled “Using submission emails with approvals”Approval emails are usually the better option for forms with approvals. Each approval component can send its own request, approval, rejection, and revoke emails, with a message and recipients suited to that action. Configure these in the approval component. A separate submission email is typically unnecessary and can duplicate the email sent by the final approval step.
If you also enable the form’s submission email in the Email tab, its automatic behaviour is:
| Approval outcome | Submission email |
|---|---|
| Approval requested, or some approvals still outstanding | Not sent. |
| All required approvals approved | Eligible to send, subject to Send email on resubmission and the usual email settings. |
| Rejected, including rejection as the final action | Not sent. Use the approval component’s rejection email. |
| Decision revoked or request cancelled | Not sent. |
For new signed-in responses, the first time all required approvals are approved counts as the initial submission email. Turning off Send email on resubmission still allows that email, but suppresses automatic submission emails for later edits or another approval cycle on the same response. Older responses without completion tracking keep the existing behaviour: approval actions count as resubmissions, so this setting also controls their completion email. Existing responses are not backfilled.
Keep the submission email enabled only if you need an additional notification after the whole response is approved—for example, to send the approved response to a central processing mailbox. Approval emails remain independent: turning off submission emails or Send email on resubmission does not disable the approval component’s notifications.
See Approval emails for the available notifications and template values. Preview and manually triggered submission emails are separate from the automatic rules above.
Add response data to the message
Section titled “Add response data to the message”The email editor uses Handlebars for dynamic fields and conditional template blocks. Type / to browse available values, or start typing to insert a response field. Use {{ data.fieldKey }} syntax; email template fields do not execute JavaScript. Keep messages as readable plain text by default, using HTML only for specific formatting such as links or tables.
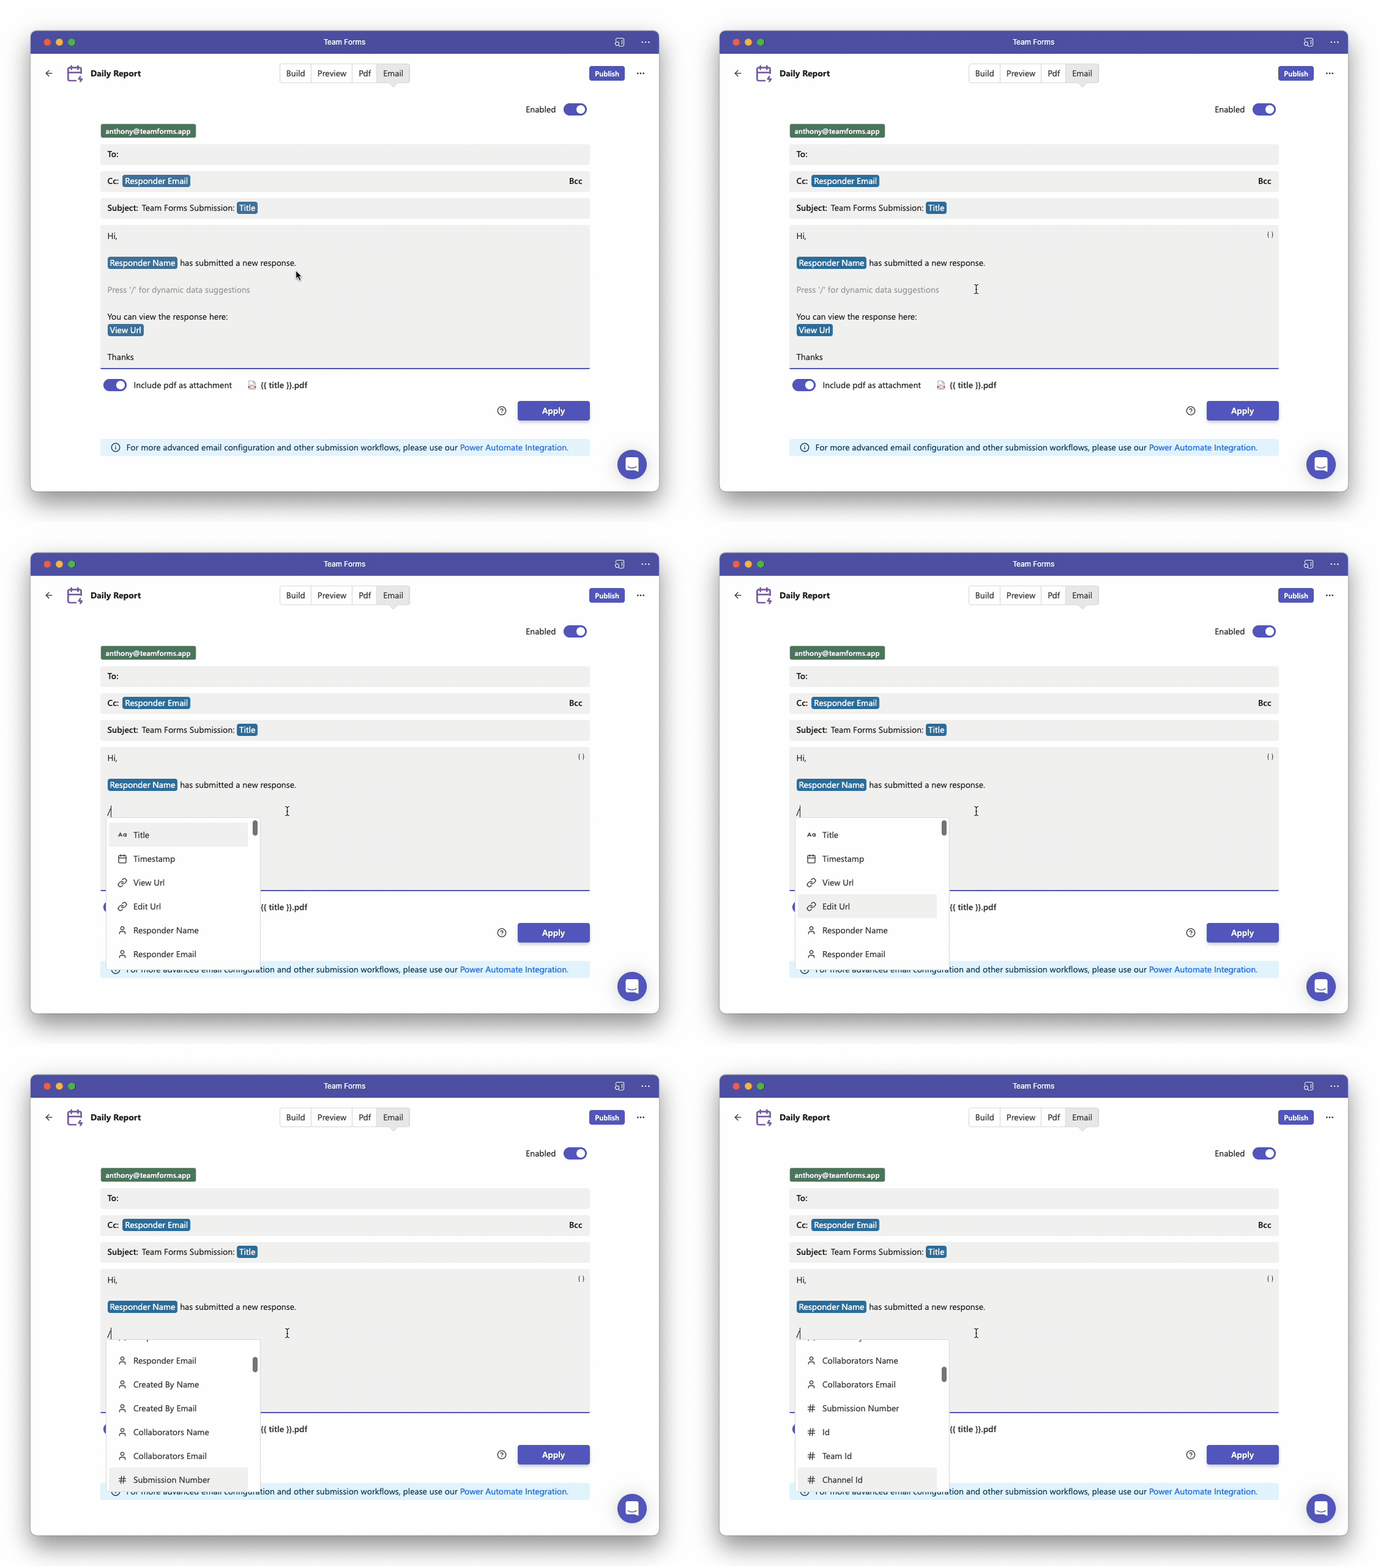
See the email template syntax reference for supported variables, conditions, loops, date formatting, and attachment placeholders. Detailed examples are also available for dynamic email templates, data-grid tables, uploaded-file attachments, and dynamic PDF filenames.
Choose the sender
Section titled “Choose the sender”By default, messages are sent using the account that authorised the email feature. To send from a shared mailbox, choose Send as and enter its address. The authorising account must have Microsoft 365 permission to send as that mailbox.
Email authorisation can expire or be revoked. If notifications stop, verify the sender account, its mailbox permissions, and the notification’s authentication state. See Change the sender email address, Create a shared mailbox, and Email authentication expiration.
Retry or resend notifications
Section titled “Retry or resend notifications”For one submission, open Workflow runs and use the email re-run control. For multiple submissions, select their rows on the Submissions screen, choose Re-run workflows, and check Email notification.
Choose Failed workflows to retry the latest failed email attempts, Workflows not run yet for submissions with no recorded email attempt, or All selected submissions to resend notifications regardless of history. Notifications that are disabled or have no recipients can still be skipped. See Monitor and re-trigger workflows for the full procedure.